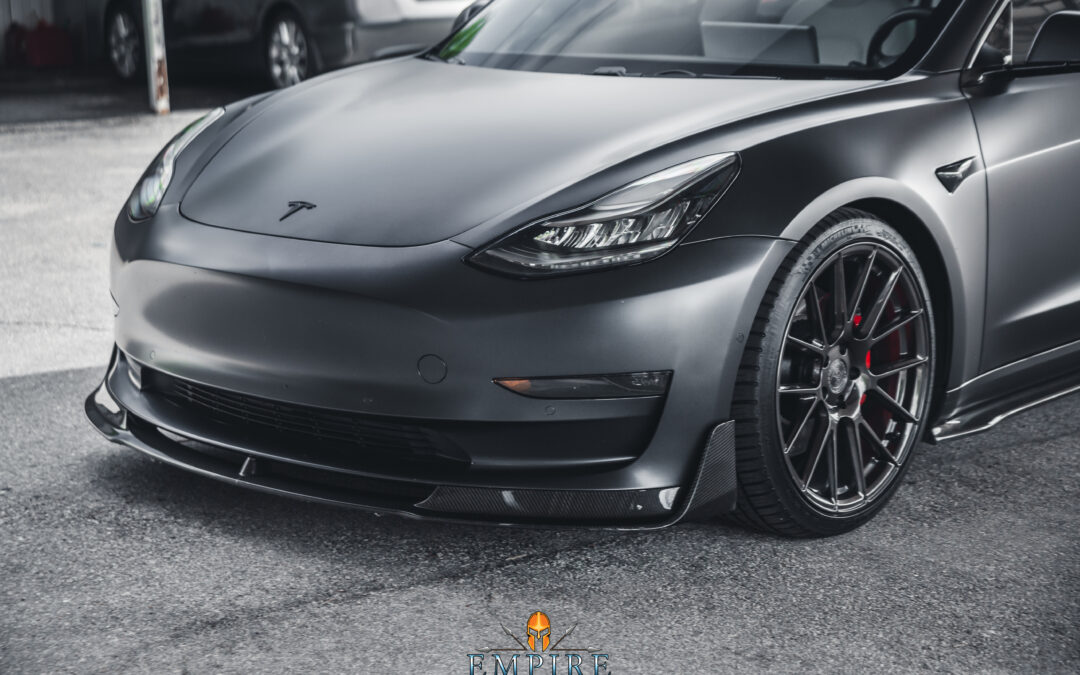
A DIY Guide to Headlight Restoration: Tips and Tricks by Empire Auto Spa
Introduction
Over time, vehicle headlights can become cloudy, yellowed, or oxidized due to UV rays, dirt, and other environmental factors. Not only does this diminish the aesthetic appeal of your car, but it also reduces visibility during nighttime driving. Fortunately, headlight restoration is a task you can tackle at home with the right tools and techniques. In this DIY guide brought to you by Empire Auto Spa, we’ll share some valuable tips and tricks for effective headlight restoration.
Why Restore Your Headlights?
- Improved Visibility: Clear headlights ensure optimal light projection, enhancing nighttime driving safety.
- Aesthetic Appeal: Restored headlights rejuvenate your car’s appearance, making it look newer and well-maintained.
- Cost-Efficient: DIY restoration is more affordable than replacing the entire headlight unit.
Step-by-Step DIY Headlight Restoration
Step 1: Gather Your Materials
You’ll need:
- Automotive masking tape
- Sandpaper (600, 1000, and 2000 grit)
- A spray bottle with water
- Plastic or headlight polish
- A soft cloth or buffer pad
Step 2: Clean and Mask
Start by cleaning the headlights with soap and water. Once dry, mask around the headlights using automotive tape to protect the paint.
Step 3: Wet Sanding
Begin with the 600-grit sandpaper. Spray water on both the headlight and sandpaper, then sand in a horizontal motion. Move to the 1000-grit, and finally the 2000-grit, sanding in vertical motions. Keep the surface wet throughout.
Step 4: Polishing
Apply plastic or headlight polish to a soft cloth or buffer pad. Buff the headlight surface in circular motions until it’s clear and shiny.
Step 5: Protection (Optional)
For added protection, consider applying a UV sealant or clear coat to shield the headlights from future oxidation.
Tips and Tricks
- Consistent Pressure: When sanding, apply consistent pressure to ensure even results.
- Stay Wet: Always keep the headlight and sandpaper wet during the sanding process to prevent scratches.
- Test a Spot: Before starting, test a small spot to ensure you’re comfortable with the process.
Conclusion
Headlight restoration is a rewarding DIY project that can significantly improve your vehicle’s appearance and safety. With patience and the right techniques, you can achieve professional-looking results at home. For those who prefer expert services, Empire Auto Spa is always here to help.
For more information or to schedule a professional headlight restoration service, visit our website or call us at (407) 326-2742.

